Top Things to Know Before Buying Backyard Greenhouse Kits
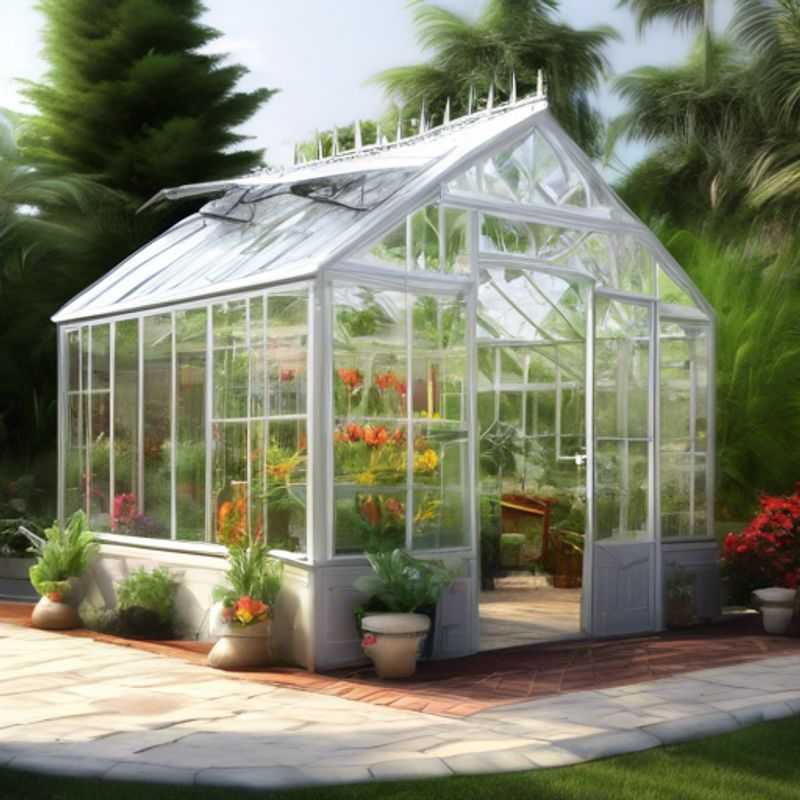
Top Things to Know Before Buying Backyard Greenhouse Kits:
Building a backyard greenhouse is an exciting project, and choosing the right kit is crucial for success.

Planning Your Dream Backyard: Determining Size and Layout
Before you start dreaming of backyard BBQs and cozy evenings under the stars, it's crucial to figure out the size and layout that'll work best for your space. This will help you plan efficiently and avoid costly surprises. A good plan allows you to maximize your enjoyment and budget.
Measure your yard: It might seem obvious, but a precise measurement is essential. You can measure the length and width of your yard using a tape measure or a laser distance meter. This will help you create a scaled drawing or use a digital planning tool to visualize your ideas. Consider the shape of your yard, too; square yards offer more flexibility than long, narrow ones.
Analyze your existing features: Take stock of what's already there—trees, fences, utilities—and factor them into your design. Existing trees can provide shade and privacy but could also limit your space. Existing features can be incorporated into your design, saving you time and money. Think about their strengths and limitations, especially when it comes to sunlight and shade.
Consider your needs and budget: What do you envision for your backyard? A lush garden, a relaxing patio, a play area for kids? The more specific your vision, the easier it'll be to plan and budget. Keep in mind that landscaping, hardscaping (patios, walkways), and structures like sheds or pergolas all have varying costs. Research prices before finalizing your plan.
Think about your lifestyle: How often will you use the backyard? What activities do you enjoy? These questions can help you prioritize features and ensure your space is truly functional and enjoyable. A family with kids might need a large play area, while someone who loves gardening might prioritize a raised bed or greenhouse. Planning with your lifestyle in mind makes the whole process much smoother.
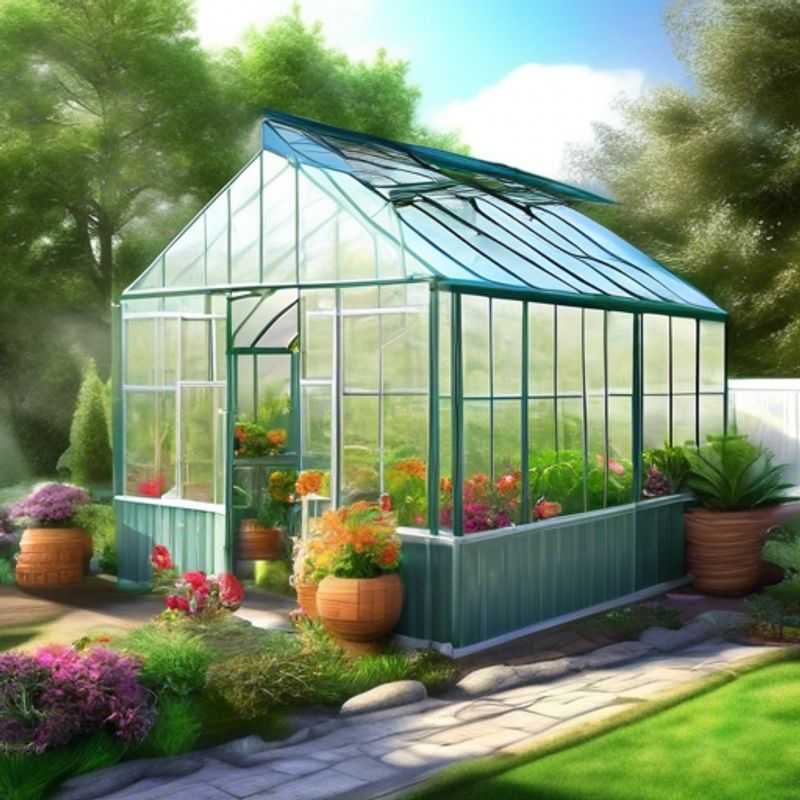
Choosing the Right Materials for Your Greenhouse: A Guide to Construction Types
When building your greenhouse, the materials and construction type you choose play a critical role in determining its durability, performance, and cost. Here's a rundown of the most common options, their pros, and cons:
Greenhouse Frames:
Aluminum: Lightweight, rust-resistant, and easy to assemble, but it can be expensive. Choose a heavy-gauge aluminum for better strength.
Steel: Strong and durable, but susceptible to rust. Galvanized steel is more corrosion-resistant.
Wood: Affordable and readily available, but requires regular maintenance to prevent rot and insect damage. Use pressure-treated lumber for longevity.
PVC: Lightweight and affordable, but can be less durable than other options.
Greenhouse Covering:
Polyethylene: Inexpensive, lightweight, and readily available. Good for short-term use, but can tear easily and degrade under UV exposure.
Polycarbonate: Strong, durable, and offers excellent light transmission. More expensive than polyethylene but offers better insulation and longevity.
Glass: Provides excellent light transmission and durability but is heavy and expensive. Requires special structural support.
Greenhouse Construction Types:
Lean-to: Simplest design, good for smaller spaces and attached to existing structures. Limited space for tall plants.
Even-span: A freestanding structure with two slopes of equal length. Provides good headroom for tall plants.
Gothic Arch: Popular for its beauty and structural strength. Offers a high roof for ample headroom, but more expensive than other options.
Quonset: A curved design, durable and resistant to strong winds. Can be difficult to assemble.
Tips for Choosing the Right Greenhouse Kit:
Consider your budget: Kits can vary widely in price depending on the materials and size.
Think about the climate: Choose materials and construction suitable for your local weather conditions.
Determine your needs: What size and type of greenhouse will best suit your plants and gardening goals?
Research kit reviews: Read reviews from other gardeners to get insights into the quality and performance of different kits.

Climate and Weather: Choosing the Right Plants for Your Local Area
When planning your workflow, it's crucial to consider the climate and weather conditions in your local area. This can significantly impact the effectiveness and efficiency of your operations, so it's important to plan accordingly.
Here are some key considerations:
1. **Temperature Extremes:** Extreme heat can cause equipment malfunctions and reduce worker productivity. Similarly, extreme cold can lead to frozen pipes, power outages, and safety risks for workers.
2. **Precipitation:** Heavy rainfall, snow, or hail can disrupt transportation, damage equipment, and create hazardous working conditions. Consider how you'll manage these situations and ensure safety.
3. **Wind Conditions:** Strong winds can create hazards for outdoor work and damage structures. If your workflow involves outdoor tasks, plan for wind mitigation strategies.
4. **Sunlight Exposure:** Direct sunlight can affect visibility, increase heat, and potentially damage sensitive equipment. You may need to incorporate shade structures or protective measures in your plans.
5. **Seasonal Variations:** Remember that climate conditions fluctuate throughout the year. Consider how your workflow will be affected by different seasons and adjust your plans accordingly.
6. **Climate Change Impacts:** As climate change continues, it's important to factor in potential future impacts on your local weather patterns. This might involve considering more extreme weather events or changes in temperature averages.
By incorporating these considerations into your workflow planning, you can increase efficiency, improve safety, and minimize disruptions caused by the local climate.
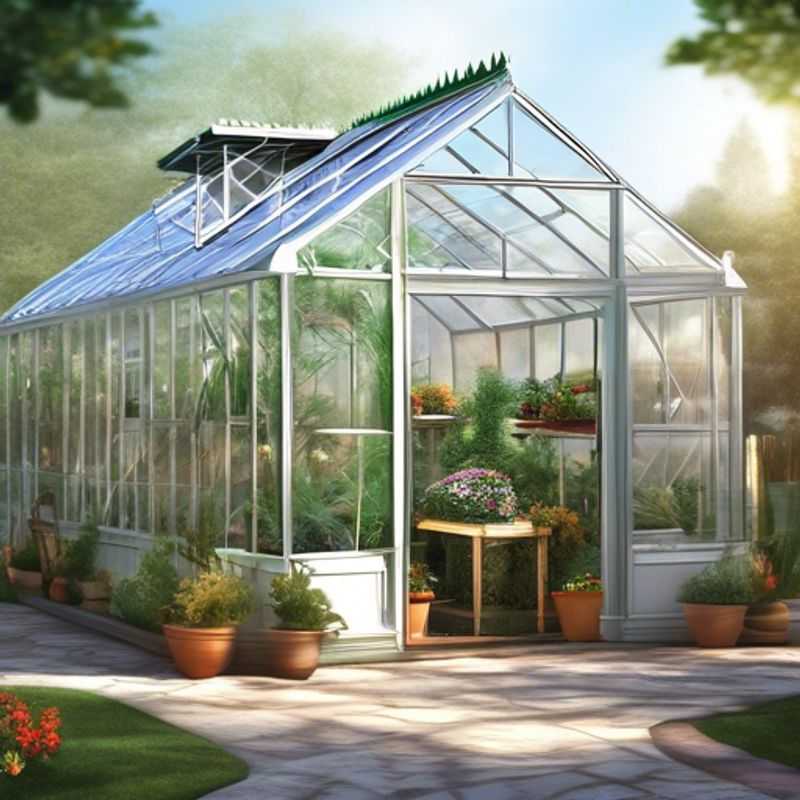
Cost Breakdown: Kit, Shipping, and Accessories
When evaluating the cost of a kit, shipping, and any necessary accessories, you're essentially creating a budget for your project. It's vital to get a comprehensive understanding of all potential costs to avoid surprises later on.
Here's a breakdown of the key areas to consider:
1. Kit Cost: This is the primary expense. Research prices from multiple vendors, compare features and quality, and factor in discounts or promotions.
2. Shipping Costs: Shipping can vary widely depending on distance, weight, and shipping method (standard, expedited). Consider the cost of shipping the kit to your location and any potential customs duties or taxes.
3. Necessary Accessories: Determine which additional items are truly necessary and not just desirable. Don't overlook things like tools, power adapters, or specific software licenses that might be required.
4. Installation and Setup: If professional installation is required, factor in the cost. This could include labor, materials, and any permits necessary.
5. Maintenance and Support: Depending on the kit, consider ongoing costs like maintenance contracts, software updates, or replacement parts. This is particularly relevant for long-term use.
Remember to:
- Seek multiple quotes for each component
- Factor in potential unexpected costs
- Compare prices with similar alternatives
- Consider long-term costs like maintenance and upgrades
By diligently evaluating these factors, you'll be able to make informed decisions and manage your budget effectively.
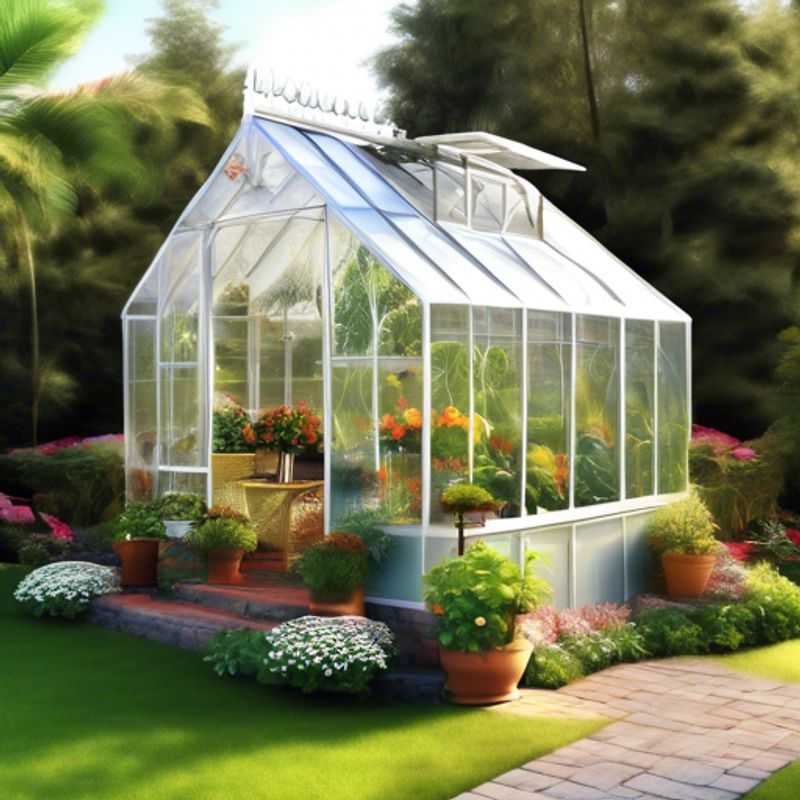
Complete the Mission: Making Sure Your Kit Has Everything You Need
Ensuring your kit includes all necessary components and instructions is crucial for a seamless and successful project. A comprehensive kit minimizes delays, frustration, and potential errors. Here's a quick guide:
Start with a detailed checklist: Before assembling the kit, create a comprehensive list of all required components, tools, and instructions. This ensures you don't miss anything.
Source high-quality components: Choose reliable suppliers and ensure the components meet the project specifications. Consider factors like durability, compatibility, and safety standards.
Include clear and concise instructions: Detailed instructions, ideally with visuals like diagrams or photographs, will guide the user through the process effectively. This minimizes the chance of misinterpretations and errors.
Organize and package thoughtfully: Organize components logically within the kit. Use appropriate packaging to protect delicate parts during transport and handling. Clearly label each component and section for easy identification.
Provide additional resources: Consider including helpful resources like online tutorials, FAQs, or contact information for technical support. This provides users with an additional avenue for assistance if needed.
Quality control is key: Before finalizing the kit, perform thorough quality checks. Ensure all components are present and functioning correctly. Verify the accuracy and clarity of the instructions.
By following these guidelines, you can create a well-organized kit that minimizes delays, errors, and frustrations, allowing for a smoother and more successful project implementation.
Building a Solid Foundation: Site Preparation and Foundation Requirements
Site preparation and foundation are the crucial first steps in any construction project, ensuring stability, longevity, and safety. These tasks are multifaceted and require careful planning and execution. Let's delve into essential considerations for a successful site preparation and foundation plan.
Site Analysis: The initial step is a thorough site analysis, encompassing factors such as soil type, groundwater levels, existing utilities, and any potential environmental concerns.
Site Clearing: Clearing the site involves removing vegetation, debris, and unsuitable materials to prepare the area for construction. This can involve excavation, grading, and potentially tree removal, each requiring permits and possibly involving additional costs.
Foundation Design: Foundation design hinges on the soil conditions, building size, and local building codes. Common foundation types include shallow foundations (slab, crawl space, basement), and deep foundations (piles, caissons) for challenging soil conditions. You'll need a licensed engineer to design the appropriate foundation.
Excavation: Once the foundation design is finalized, the site requires excavation to accommodate the foundation depth and width. This can involve large earthmoving equipment and requires permits.
Utilities: Consideration must be given to the location and connection of utilities like water, sewer, gas, and electricity. You'll need to coordinate with utility companies for connection fees and ensure proper installation and permits.
Grading: Grading involves shaping the site to ensure proper drainage and a level foundation. This can involve adding or removing soil, and may require retaining walls for slope stability.
Cost Estimation: Costs for site preparation and foundation vary significantly depending on the site size, complexity, and local labor and material costs.
Permitting: Acquiring the necessary permits for site preparation and foundation is essential for compliance with local building codes and regulations. This step involves obtaining permits for excavation, utility connections, and foundation construction. Be aware that permitting fees and timelines vary greatly.
Timeline: The site preparation and foundation phases can take several weeks to months depending on the project's scale and the weather conditions. Plan your schedule accordingly.
Environmental Concerns: It's important to be aware of potential environmental concerns such as contaminated soil, wetlands, or endangered species. You may need to consult with environmental specialists or adhere to specific regulations.
Conclusion: Site preparation and foundation construction are critical elements in any construction project. By considering all the factors involved and planning meticulously, you can ensure a strong and stable base for your building.
Mastering Assembly & Installation: How to Allocate Time and Resources Like a Pro
Allocating time and resources for assembly and installation is crucial for any project’s success. This process requires careful planning and consideration of various factors to ensure a smooth and efficient workflow.
Start with a clear scope of work. Define the specific tasks involved in assembly and installation, including the materials, tools, and equipment needed. This will help you determine the required resources and allocate time accurately.
Factor in the complexities of the project. Consider the size and complexity of the assembly and installation process. Large-scale projects might involve multiple teams, specialized equipment, and intricate procedures, requiring more time and resources.
Assess available resources. Evaluate your team’s expertise, available equipment, and any potential constraints, such as limited space or time. This assessment will help you identify areas where additional resources or specialized skills may be needed.
Estimate labor costs. Account for the time required for each task and the labor rates of the team members involved. Consider potential overtime or additional personnel required for specific tasks.
Factor in material costs. Calculate the cost of materials, including any specialized components, hardware, and consumables used in the assembly and installation process. Include potential delays in material delivery.
Account for travel and transportation. If the assembly or installation requires traveling to a different location, factor in transportation costs, including fuel, tolls, and parking fees. Also, account for travel time and potential delays.
Allocate time for permits and inspections. If necessary, include time for obtaining permits and scheduling inspections for the completed assembly or installation. This may involve fees and coordination with relevant authorities.
Factor in contingency time. It's crucial to allocate a buffer for unexpected delays, material shortages, or unforeseen issues. This contingency time can help prevent project delays and ensure a smooth workflow.
Review and adjust your plan. Regularly assess your progress and make adjustments to the allocated time and resources as needed. Flexibility is crucial for efficient and successful assembly and installation projects.
