Top Things to Know Before Buying Cabbage Seeds: A Guide to Successful Growing
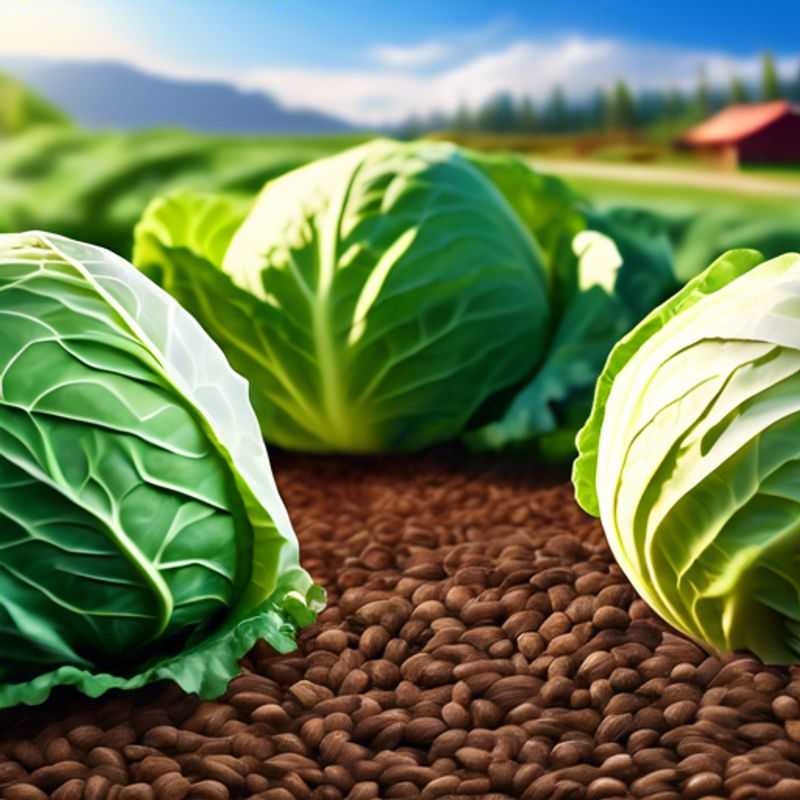
Unveiling the Secrets of Cabbage Seeds: 7 Essential Tips for Success
Growing your own cabbages can be a truly rewarding experience, bringing fresh, homegrown goodness to your table. But before you dive into the world of cabbage cultivation, it's essential to understand a few key things about choosing and planting your seeds.
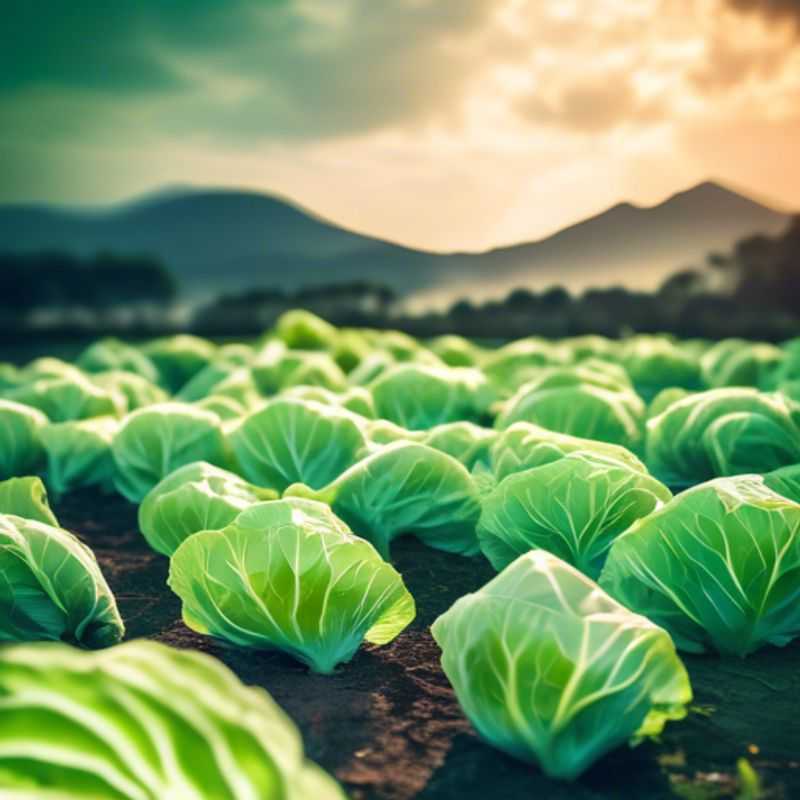
Choosing the Right Cabbage Seeds: Climate and Conditions Matter
Choosing the right cabbage variety is crucial for a successful harvest. Your climate and growing conditions play a significant role in determining which varieties will thrive. Start by considering your region's average frost dates.
For example, if you live in a region with a long growing season, you can choose from a wider range of varieties, including those with longer maturity periods. However, if you live in a region with a shorter growing season, it's best to select early-maturing varieties.
Another factor to consider is your soil type. Some cabbage varieties are more tolerant of heavy clay soils than others. For example, 'Red Acre' is known for its adaptability to different soil types.
You'll also want to think about the amount of space you have available. Some cabbage varieties grow larger than others. If you have limited space, you might want to consider a compact variety like 'Early Jersey Wakefield.'
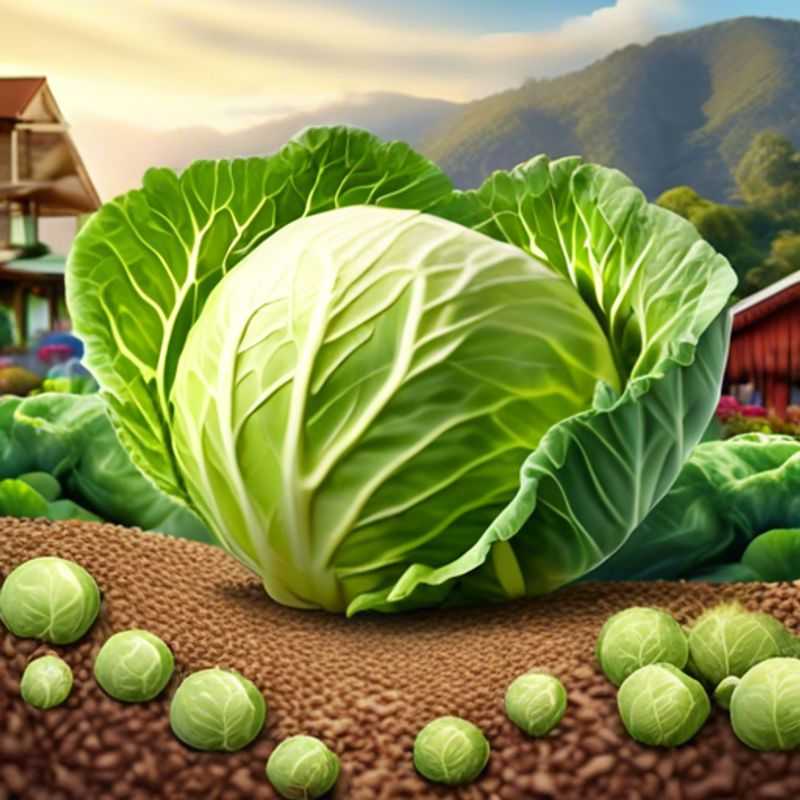
Planting Success: Ensuring Fresh Seeds and High Germination Rates
Ensuring your seeds are fresh and have a high germination rate is crucial for successful gardening. Fresh seeds generally germinate better. Seeds lose viability over time, so check the date on the seed packet. Look for seeds that are within their recommended storage time. For example, most vegetable seeds can last for two to three years, while herb seeds are typically viable for one to two years. A good indicator of seed freshness is color. Avoid seeds that are discolored or have an off-putting odor.
Germination rates vary depending on the type of seed. You can often find this information on the seed packet. To test germination rate, place a few seeds on a moist paper towel in a sealed plastic bag. Keep the bag in a warm location. Count the seeds that sprout after a week or two to estimate the germination rate. If the germination rate is low, it may be time to purchase fresh seeds.
For best results, consider purchasing seeds from reputable sources. Choose seeds from companies known for their quality control. They often test their seeds to ensure a high germination rate. Storing seeds properly can also help maintain their viability. Store seeds in a cool, dry place, ideally in an airtight container. Keep them away from direct sunlight and moisture. These simple steps can ensure your seeds are ready for successful planting.
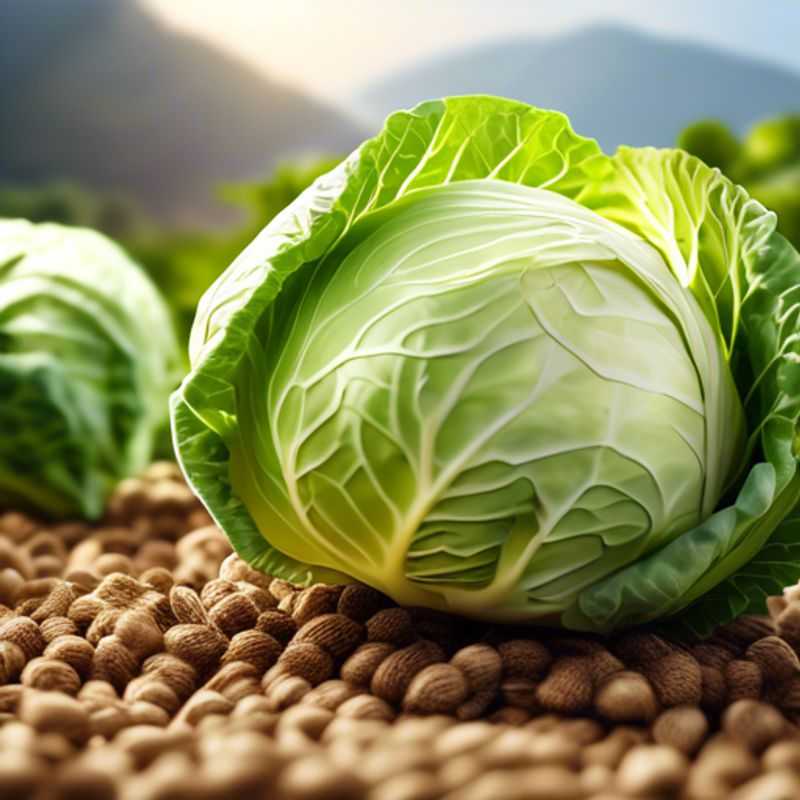
Nurturing Your Garden: The Importance of Soil Preparation
Preparing your soil is the foundation for a thriving garden. Two key aspects are adding organic matter and ensuring good drainage.
Adding organic matter, like compost or aged manure, improves soil structure, increases water retention, and provides essential nutrients for your plants. It also helps to create a healthy environment for beneficial microorganisms. You can incorporate organic matter by tilling it into the soil or using a method called "sheet mulching," where you layer organic materials on top of the soil.
Good drainage is crucial to prevent root rot and ensure healthy plant growth. If your soil is prone to waterlogging, you can amend it with materials like sand or gravel. You can also create raised beds or install drainage systems to improve drainage.
Remember, soil preparation is an ongoing process. Regularly adding organic matter and monitoring drainage will contribute to healthy soil and flourishing plants.
From Seedling to Garden: Mastering the Art of Indoor Starts and Outdoor Transplants
Starting seeds indoors gives your plants a head start in the growing season, allowing you to enjoy fresh produce earlier. It's crucial to transplant them outside at the right time to avoid shock and maximize their growth.
Here's a summary of the process:
1. Start seeds indoors 6-8 weeks before the last frost date for your region. Use seed-starting trays or pots filled with seed-starting mix.
2. Provide adequate light. Seedlings need 14-16 hours of light daily, so supplement with grow lights if needed.
3. Water consistently. Keep the seed-starting mix moist but not soggy.
4. Harden off seedlings for 7-10 days before transplanting. Gradually introduce them to outdoor conditions by placing them in a sheltered location for increasing periods of time.
5. Transplant outside after the last frost date. Choose a sunny spot with well-drained soil.
6. Water deeply after transplanting, and continue to water regularly.
Important considerations:
- Check the average last frost date for your area. This can be found online or through local gardening resources.
- Choose varieties that are appropriate for your climate.
- Consider the cost of seed-starting supplies and grow lights if needed.
Nurturing Your Green Friends: The Key to Healthy Plants
Plants, like any living being, need water to survive and thrive. Regular watering ensures that the soil is consistently moist, providing the necessary hydration for the plant's roots to absorb water and nutrients. The frequency of watering depends on several factors such as the type of plant, pot size, and the climate. Overwatering can be detrimental, leading to root rot, while underwatering can cause wilting and stress. It's essential to find the right balance for each plant.
Sunlight is another crucial element for plant growth. Plants use sunlight to perform photosynthesis, a process that converts light energy into chemical energy, fueling their growth and development. The amount of sunlight a plant needs varies depending on its species. Some plants thrive in full sun, while others prefer shade. Understanding the specific light requirements for each plant is crucial to ensure its healthy growth.
There are a few ways to determine if your plant needs water. Check the soil moisture by touching it. If it feels dry, it's time to water. Another way is to lift the pot. If it feels light, it likely needs water. Observing your plants for signs of wilting or drooping can also be a good indicator.
Providing adequate sunlight often involves placing your plants in a location that receives the appropriate amount of direct or indirect sunlight. For indoor plants, consider using grow lights to supplement natural sunlight. Rotating your plants regularly can ensure that all sides receive adequate light, preventing uneven growth.
Pest and Disease Watch: Safeguarding Your Garden and Home
Keeping your garden healthy means being vigilant against pests and diseases. Early detection is key. Regularly inspect your plants for signs of trouble, such as discoloration, wilting, holes in leaves, or unusual growths.
Identify the culprit – is it a pest, a disease, or both? Pests like insects, slugs, and snails can damage your plants directly. Diseases, caused by fungi, bacteria, or viruses, can weaken plants and make them more susceptible to pests.
Integrated pest management (IPM) is a holistic approach to managing pests and diseases. It emphasizes prevention and uses a combination of methods, including cultural practices, biological controls, and chemical treatments.
Prevention is crucial. Choose disease-resistant varieties when possible. Ensure proper watering and drainage. Avoid overcrowding plants.
Biological control involves introducing natural predators or parasites to control pests. Beneficial insects, such as ladybugs and lacewings, can help control aphids. You can purchase these beneficial insects online or at gardening centers.
Chemical treatments should be used as a last resort. Always read and follow the label instructions. Choose the least toxic option for your specific pest or disease.
Don’t forget to dispose of infected plant material properly to prevent the spread of disease. And, finally, don’t be afraid to seek advice from local gardening experts. They can provide personalized recommendations based on your specific situation.
Harvesting Cabbage: Timing is Everything for the Perfect Crunch
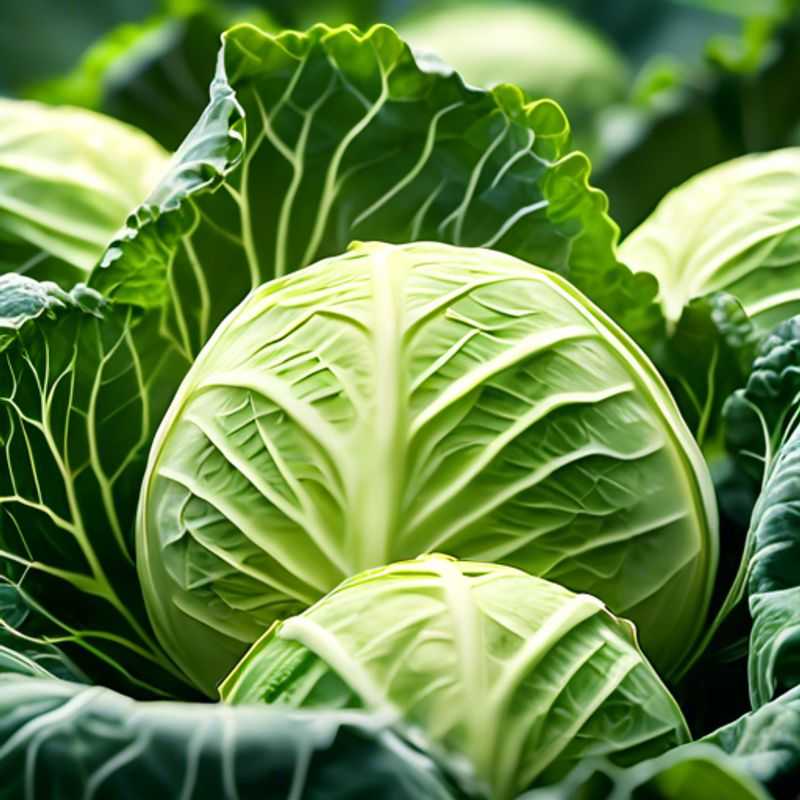
Harvesting cabbage at the optimal maturity stage is crucial for achieving top-quality produce. It's a balancing act between size and flavor.
Here's a simplified guide:
Early Harvest: If you prefer a tender, sweet cabbage, harvest when the head is firm and compact, about 60-70 days after planting.
Mature Harvest: For a larger, more flavorful cabbage, wait until the head is fully formed and the outer leaves are starting to curl. This typically takes 70-90 days.
Avoid Over-Ripeness: Overripe cabbage becomes tough and bitter, impacting quality. Be sure to harvest before the head starts to split.
Remember, proper timing and observation are key!
