Top Things to Know Before Repotting Your Indoor Plants
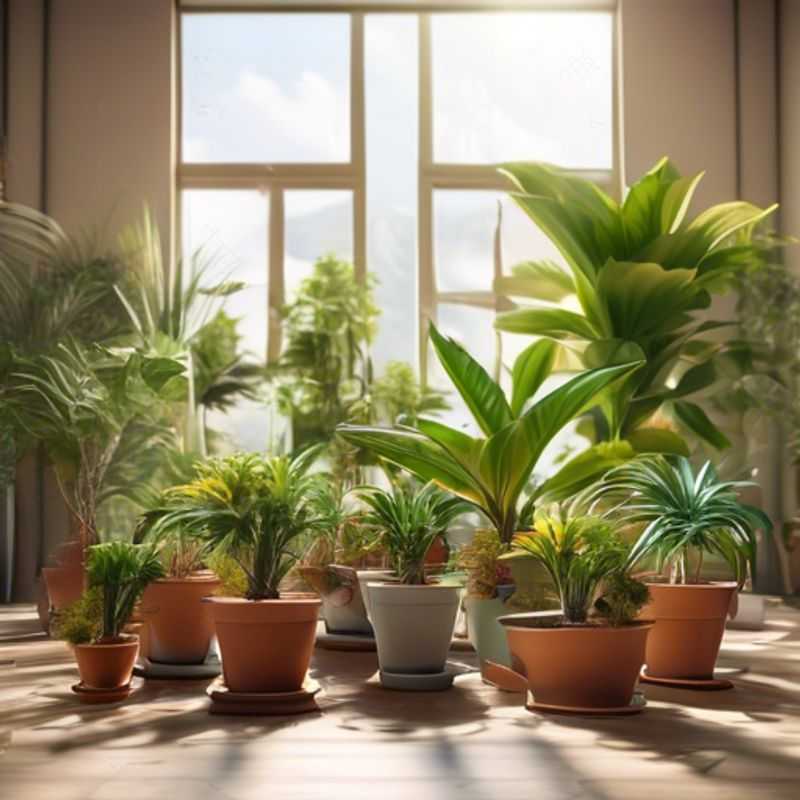
Top Things to Know Before Repotting Indoor Plants: A Guide for Green Thumbs
Repotting your indoor plants can be a rewarding experience, giving them fresh soil and space to thrive. But before you dive in, there are a few key things to keep in mind to ensure a successful transition for your green friends. Let's break it down, shall we?
First and foremost, understand your plant's specific needs.
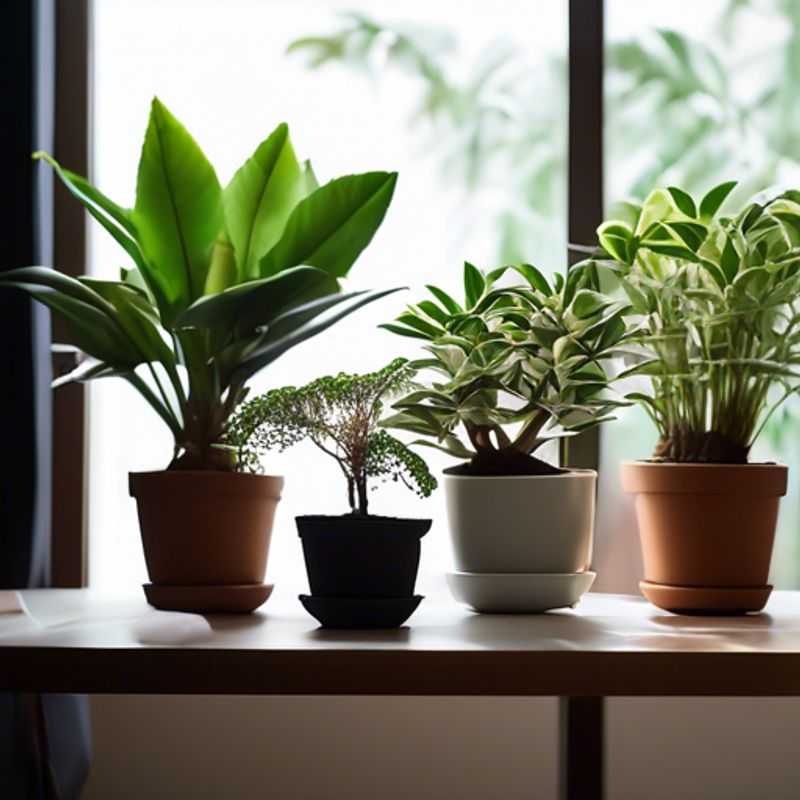
Unlocking Plant Happiness: Understanding Their Specific Needs for Soil, Light, and Water
To give your plants the best chance to thrive, understanding their specific needs for soil, light, and water is essential. Let's break it down!
Soil: Plants require soil that provides the right balance of nutrients and drainage. Check the plant's label for specific soil requirements. For example, succulents prefer well-draining soil to prevent root rot, while ferns need rich, moist soil.
Light: Light is vital for photosynthesis, the process plants use to create energy. Pay attention to the plant's light preference: sun-loving plants need at least six hours of direct sunlight daily, shade-tolerant plants thrive in indirect light, and low-light plants prefer bright, indirect light.
Water: Water is crucial for plant growth. The amount of water a plant needs depends on the plant's species, pot size, and environmental conditions. Overwatering can lead to root rot, while underwatering can cause wilting. You can check the soil moisture by inserting your finger a few inches deep. If it feels dry, it's time to water.
Remember, these are general guidelines. The best way to determine your specific plant's needs is to research the plant's individual requirements.
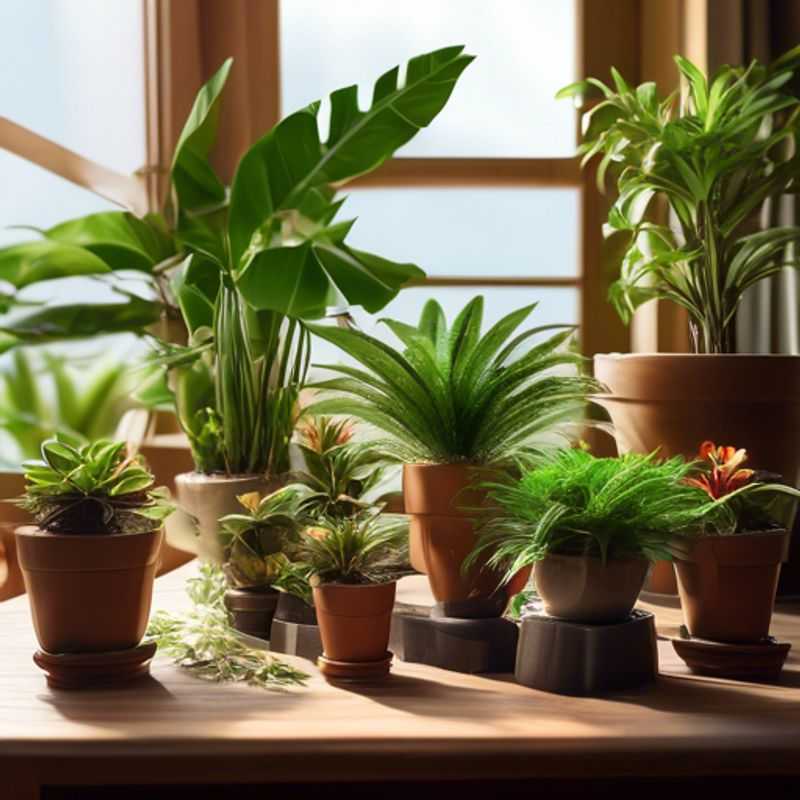
Root Happy: Finding the Perfect Pot Size for Your Plants
Choosing the right pot size for your plant is crucial for its health and growth. A pot that's too small restricts root development, while one that's too large can lead to overwatering and root rot.
Here's a simple guide to help you choose the right size pot:
1. Consider the Plant's Root System: Different plants have different root systems. Some have shallow roots, while others have deep roots. Research your specific plant's root system to determine the appropriate pot depth and width.
2. Assess Current Pot Size: If your plant is currently in a pot that's too small, you'll notice signs like roots growing out of the drainage holes, stunted growth, or frequent wilting.
3. Choose a Pot with Proper Drainage: Ensure the pot has drainage holes to prevent waterlogging.
4. Repotting: When repotting, choose a pot that is only slightly larger than the previous one. Aim for a pot that is 1-2 inches wider in diameter.
Remember: Choosing the right pot size is essential for your plant's well-being. If you're unsure, consult a local nursery or gardening expert for specific advice on your plant's needs.
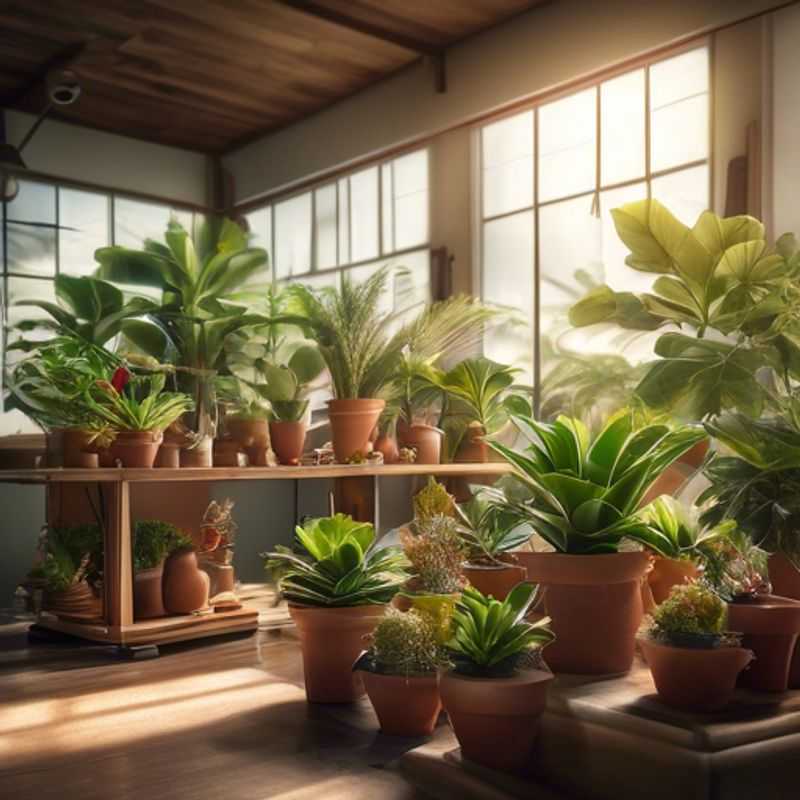
Get Ready to Plant: Prepare Your Potting Mix and Sterilize Your Container
Before you plant, prepping your tools and soil is key to healthy growth. It's like giving your plants a clean and comfortable home.
Here’s what you need to do:
First, make a fresh potting mix. Use a good quality mix designed for the type of plants you’re growing. This provides the right nutrients and drainage. If you want to use a pre-made mix, make sure it's sterilized to kill any harmful bacteria or pests.
Second, clean your container. It’s super important to get rid of any pests or diseases that might have been in the container before. The best way is to sterilize it. You can either wash it with a bleach solution (1 part bleach to 9 parts water) or bake it in the oven for 30 minutes at 200°F. Make sure it cools down completely before planting.
Lastly, when you’re putting the mix in the container, make sure it’s moist. Too dry and your plants will struggle.
These steps might seem like extra work, but they’ll save you time and hassle later. They’ll help your plants thrive and keep them healthy, so you can enjoy their beauty for a long time.
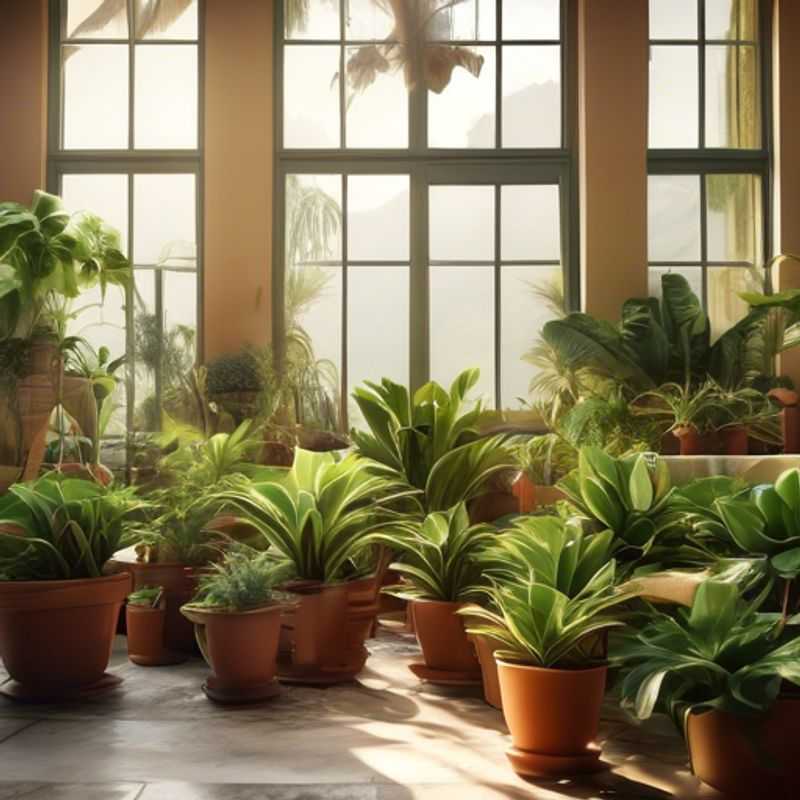
Gently Removing Plants from Pots: Protecting Precious Roots
Repotting a plant is a common gardening task, but it's crucial to handle it gently to avoid damaging the delicate roots. The key is to prioritize a slow, deliberate approach, ensuring the roots remain intact for optimal plant health.
Here's how to gently remove a plant from its old pot:
1. Preparation: Before you begin, ensure you have a new pot slightly larger than the old one, fresh potting mix, and a gentle watering can. It's best to repot when the soil is slightly moist, as dry soil can be difficult to work with.
2. Loosening: Gently tap the bottom of the old pot to loosen the plant. You can also try running a thin, sharp tool (like a butter knife) along the inside edge of the pot to help separate the plant from the container.
3. Lifting: With one hand, hold the plant firmly near the base. Use your other hand to gently pull the plant upwards, working the roots free from the pot. Avoid pulling on the stem or leaves.
4. Inspection: Carefully inspect the roots. If they are tightly bound around the root ball, gently loosen them with your fingers. It's a good idea to remove any damaged or dead roots at this point.
5. Repotting: Place the plant in its new pot and add fresh potting mix around the root ball, leaving about an inch of space at the top. Water the plant thoroughly to settle the soil.
Repotting a plant carefully will help it thrive in its new home and continue to grow strong. Remember to be patient and gentle with the process, and always prioritize the health of the plant.
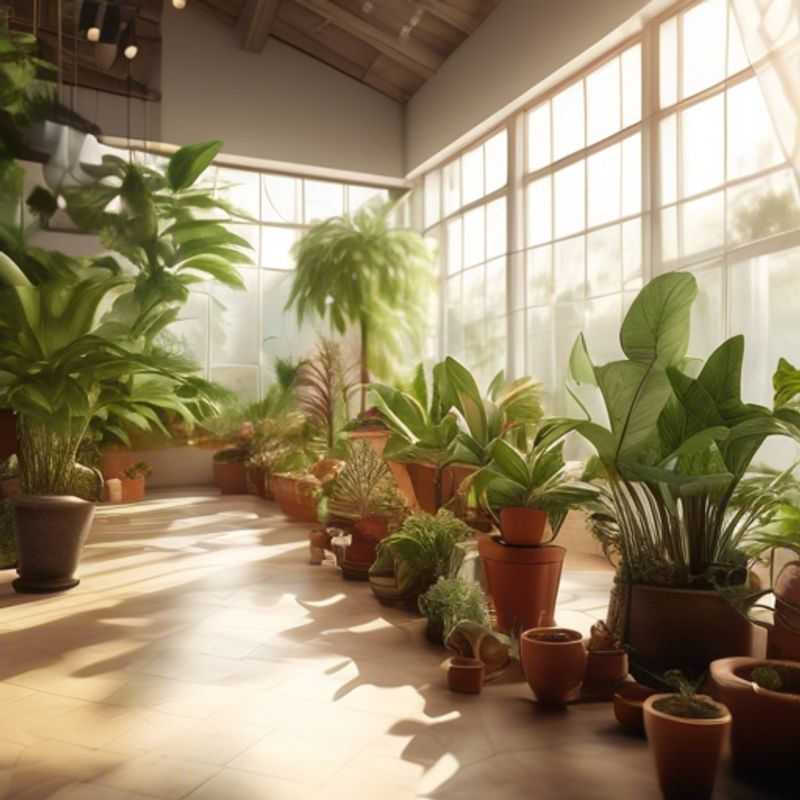
Repotting 101: Gently Placing Your Plant and Backfilling with Fresh Mix
Repotting your plants is a simple process that helps them thrive. To get started, choose a pot that's slightly larger than the current one. Make sure the new pot has drainage holes to prevent waterlogging.
Gently remove the plant from its existing pot, being careful not to damage the roots. If the plant is rootbound, try to loosen the roots a bit.
Place a layer of fresh potting mix in the bottom of the new pot. Use a potting mix appropriate for your plant's needs.
Carefully position the plant in the new pot, making sure the top of the root ball is level with the rim. Backfill the pot with the fresh potting mix, gently pressing it down around the plant.
Water the plant thoroughly, ensuring the entire root ball is moistened. Avoid overwatering.
Place the plant in a location with suitable light conditions for its species. Enjoy your healthy and happy plant!
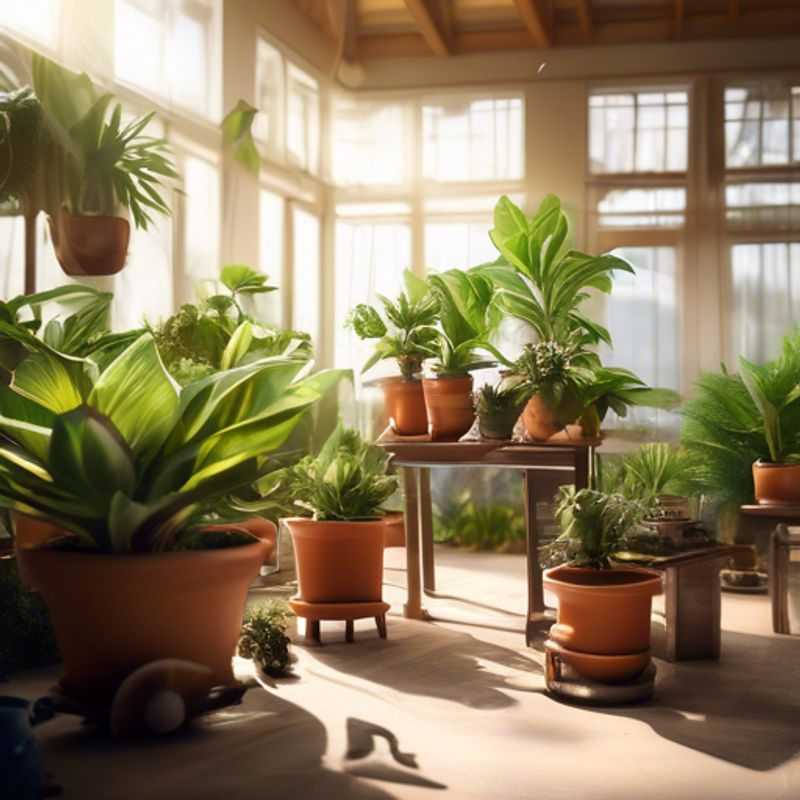
Repotted and Ready: Why Watering is Key to a Happy Plant
Repotting a plant is a great way to give it a fresh start, but it can also be a bit stressful for the plant. That's why it's important to water it thoroughly after repotting. This helps the plant settle into its new pot and encourages root growth.
When you repot a plant, you're essentially disrupting its root system. The roots may be damaged or stressed, and they'll need time to adjust to their new surroundings. Watering the plant thoroughly helps to rehydrate the roots and encourages them to grow into the new soil. This process can take a few days or even weeks, so it's important to keep the soil moist but not soggy.
Here are some tips for watering your plant after repotting:
Use lukewarm water. This will help to prevent shocking the roots.
Water the plant until water drains out of the drainage holes. This ensures that the roots are thoroughly hydrated.
Let the soil dry out slightly between waterings. This will help to prevent root rot.
Be patient. It may take a few weeks for your plant to fully adjust to its new pot. Don't be discouraged if it doesn't look its best right away. With a little patience, your plant will soon thrive in its new home.
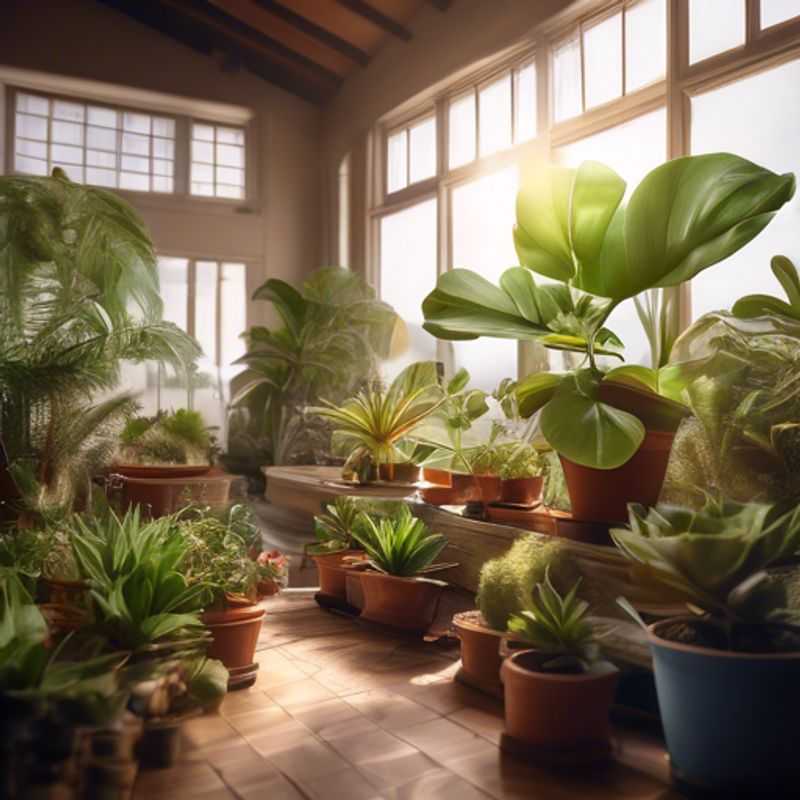
New Home, New Growth: Monitoring Your Repotted Plants
Repotting can be stressful for plants, so it's crucial to monitor them closely in the first few weeks after the process. Keep a watchful eye for signs of stress like wilting, yellowing leaves, or drooping. This period is crucial for the plant to establish new roots and adjust to its new environment.
Water carefully during this time, avoiding overwatering or underwatering. The soil should be allowed to dry slightly between waterings, but not completely dry out.
Provide adequate lighting for your plant, ensuring it receives the appropriate amount of sunlight. If you notice any issues, adjust the watering or lighting accordingly. This attentive care during the initial weeks post-repotting can significantly improve the plant's chances of thriving in its new home.
