7 Tips to Know About Top Things to Know Before Buying Repotting House Plants
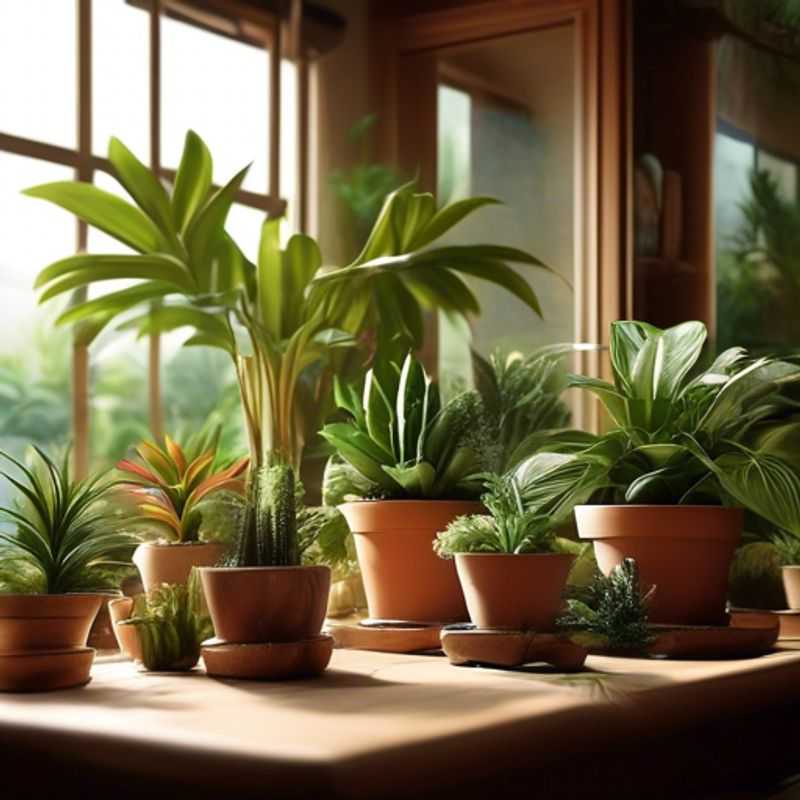
7 Essential Tips for Repotting Your Houseplants Like a Pro
Ah, repotting! A rite of passage for any plant parent, and a crucial step in ensuring your leafy companions thrive. But with so many variables, where do you even begin?
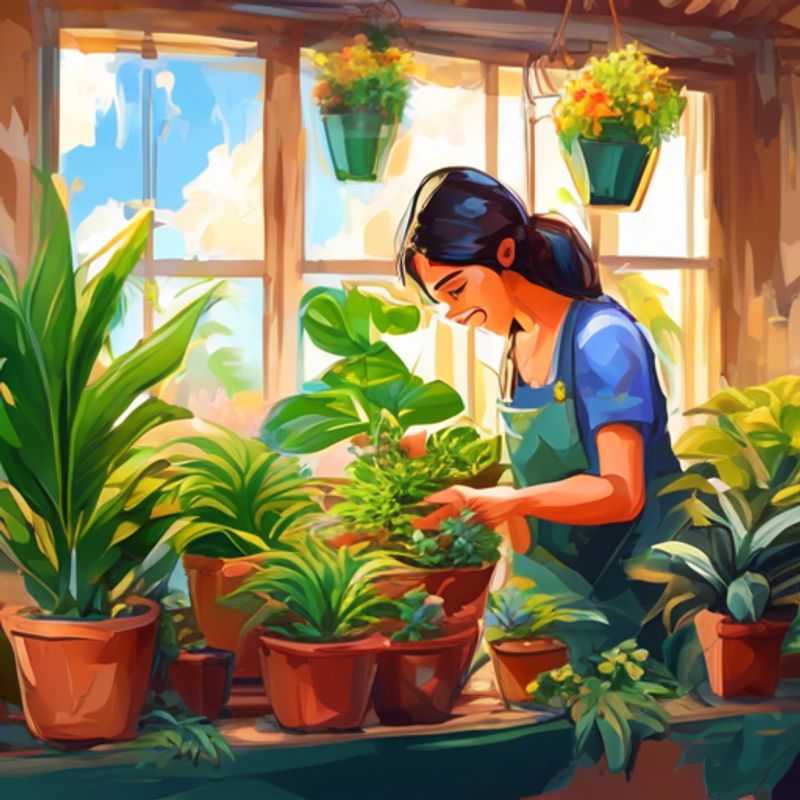
Matching Pots to Roots: A Guide to Selecting the Perfect Size for Your Plant
The ideal pot size for your plant is crucial for its health and growth. A pot that's too small can restrict root growth and lead to nutrient deficiencies. Conversely, a pot that's too large can lead to overwatering and root rot. The key is to select a pot that accommodates the plant's current root system while allowing room for future growth.
To determine the right pot size, you can use the "rule of thumb": the pot should be approximately 1-2 inches wider than the plant's root ball. This provides adequate space for the roots to expand while ensuring the plant doesn't become rootbound.
Always choose a pot with drainage holes to prevent waterlogging. You can also select a pot material that suits your plant's needs. For instance, terracotta pots are porous and allow for better airflow, while plastic pots retain moisture better.
Remember, there's no one-size-fits-all approach to pot selection. It's crucial to consider the specific plant species and its growth habits. You can also consult with a local gardening expert or refer to online resources for detailed information on pot size recommendations for different plants.
The Secret to Happy Houseplants: Choosing the Right Potting Mix
Choosing the right potting mix is crucial for the health and happiness of your houseplants. A well-draining mix allows for proper aeration and prevents root rot, which is a common issue for indoor plants. Look for a mix specifically formulated for houseplants, as these are often lighter and have a better drainage structure than mixes intended for outdoor plants. You can check the packaging for information about the composition and drainage properties. When considering your budget, remember that a quality potting mix is an investment in the well-being of your plants. It is generally better to invest in a high-quality mix, even if it costs a bit more, as this will likely lead to healthier plants and fewer issues down the line.
Here are some tips for choosing the right potting mix:
• Look for a mix that includes ingredients like peat moss, coco coir, perlite, or vermiculite. These materials help create air pockets and improve drainage.
• Avoid mixes that are too dense or heavy, as these can retain too much moisture and lead to root problems.
• Consider the specific needs of your plants. Some plants, such as cacti and succulents, prefer a more gritty mix with excellent drainage, while others, like ferns, prefer a richer, moisture-retentive mix.
• Repot your plants regularly using a fresh potting mix. This helps ensure that the drainage remains optimal and provides essential nutrients for your plants.
Investing in a well-draining potting mix specifically formulated for houseplants is a smart choice for any plant enthusiast. It will provide the foundation for healthy, thriving indoor plants, bringing beauty and life into your home.
Repotting During the Plant's Active Growing Season: Spring & Summer
Repotting during a plant's active growing season, typically spring or early summer, is generally the best time for optimal growth and acclimation. This is because the plant is actively growing and can better handle the stress of being moved. Here’s a short guide to repotting during this period:
Choose the right pot: Select a pot that's only slightly larger than the current one. A pot too large can lead to overwatering and root rot.
Use fresh potting mix: Avoid reusing old potting mix. It may contain pests or diseases. Use a high-quality potting mix suitable for the plant's needs.
Gentle handling: Carefully remove the plant from its current pot, being careful not to damage the roots. If the plant is rootbound, try to loosen the roots gently.
Planting: Place the plant in the new pot, ensuring the top of the root ball is level with the rim of the pot. Fill in around the roots with fresh potting mix.
Water thoroughly: After repotting, water the plant deeply to settle the soil. Avoid overwatering in the first few weeks.
Repotting 101: Gently Releasing Your Plant from Its Pot
Gently removing a plant from its pot and loosening its root ball is a crucial step in various plant care practices, such as repotting, dividing, or inspecting roots. This process requires a delicate touch to avoid damaging the plant. Start by gently tapping the base of the pot to loosen the plant. If the plant resists, use a thin, flat tool, such as a butter knife, to carefully pry the plant away from the pot's edge.
Once the plant is loose, hold it firmly at the base and carefully lift it out of the pot. If the plant remains stubborn, gently rock it back and forth while pulling upwards. Avoid pulling on the stems or leaves as this can cause damage. Next, examine the root ball. If it's tightly packed and appears root-bound, use your fingers or a tool to gently loosen the roots. Be careful not to break the roots or disturb the plant's center.
Repotting 101: A Step-by-Step Guide to Plant Happiness
Repotting a plant is a simple yet crucial process for its health and growth. To ensure a smooth transition, follow these steps: Firstly, choose a pot slightly larger than the current one. This provides ample space for the roots to spread and flourish. Next, fill the new pot with fresh potting mix, leaving about an inch of space from the rim. Carefully remove the plant from its old pot, gently loosening the soil around the roots if necessary. Inspect the roots and prune any that are circling or damaged. Place the plant in the new pot, ensuring the top of the root ball is level with the soil surface. Fill in any gaps with more potting mix, lightly tamping it down around the plant. Water thoroughly, allowing excess water to drain. Place the repotted plant in a suitable location with appropriate light. You may need to adjust watering frequency based on the plant's needs. Note that repotting is generally done in spring or summer when the plant is actively growing, and you may need to provide additional nutrients through fertilizer to support the plant's growth in the new soil.
Repotting Success: Why a Thorough Watering is Crucial
Repotting is a crucial step in a plant's life cycle. It's like giving your plant a new home, with more space to grow its roots and thrive. However, the transition can be stressful for the plant. One of the most important things you can do to help your plant adapt to its new environment is to thoroughly water it after repotting.
Watering after repotting serves several key purposes:
Firstly, it helps to settle the soil around the roots. When you repot, the soil might be loose, leaving air pockets that can dry out the roots. By watering thoroughly, you encourage the soil to compact, minimizing air pockets and ensuring good root contact.
Secondly, it helps the plant rehydrate after the stress of being repotted. Repotting can disrupt the roots, making it difficult for the plant to absorb water. A good watering helps re-establish the water supply, giving the plant the energy it needs to recover.
Thirdly, watering helps activate the new soil. Fresh soil may be dry, lacking the moisture needed for the roots to thrive. Thorough watering primes the soil, making it easier for the plant to access nutrients and water.
How to water effectively after repotting?
When watering, make sure you soak the entire root ball. This means pouring water until it drains out of the drainage holes at the bottom of the pot. Don't let the water sit in the pot, as this can lead to root rot.
New Plant, New Routine: Close Monitoring for the First Weeks
When bringing a new plant home, it’s important to monitor it closely for the first few weeks. During this time, the plant is adjusting to its new environment, and its watering needs may be different than what it was used to. The frequency and amount of water a plant needs can be affected by a number of factors including light, temperature, humidity, and pot size.
Observe your plant for signs of overwatering or underwatering. Overwatered plants might have yellowing leaves, wilting, or a musty smell, while underwatered plants might have brown or crispy leaves and wilting.
Adjust your watering schedule as needed based on your observations. You might need to water more frequently in the beginning, and then gradually reduce watering as the plant adjusts. It is crucial to avoid overwatering, which can lead to root rot, so only water when the top inch of soil feels dry to the touch.
